Adding Google Fonts to a Ghost Theme
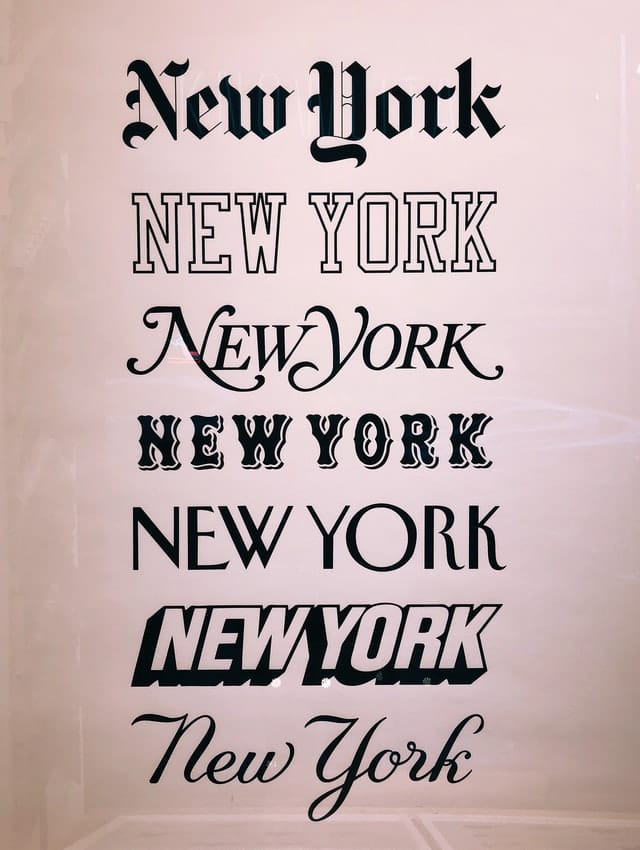
If you’ve found a theme you like for your Ghost site, but you want to change the typography to better suit your branding or personal style, you can easily customize your site with Google Fonts.
Choosing your font(s)
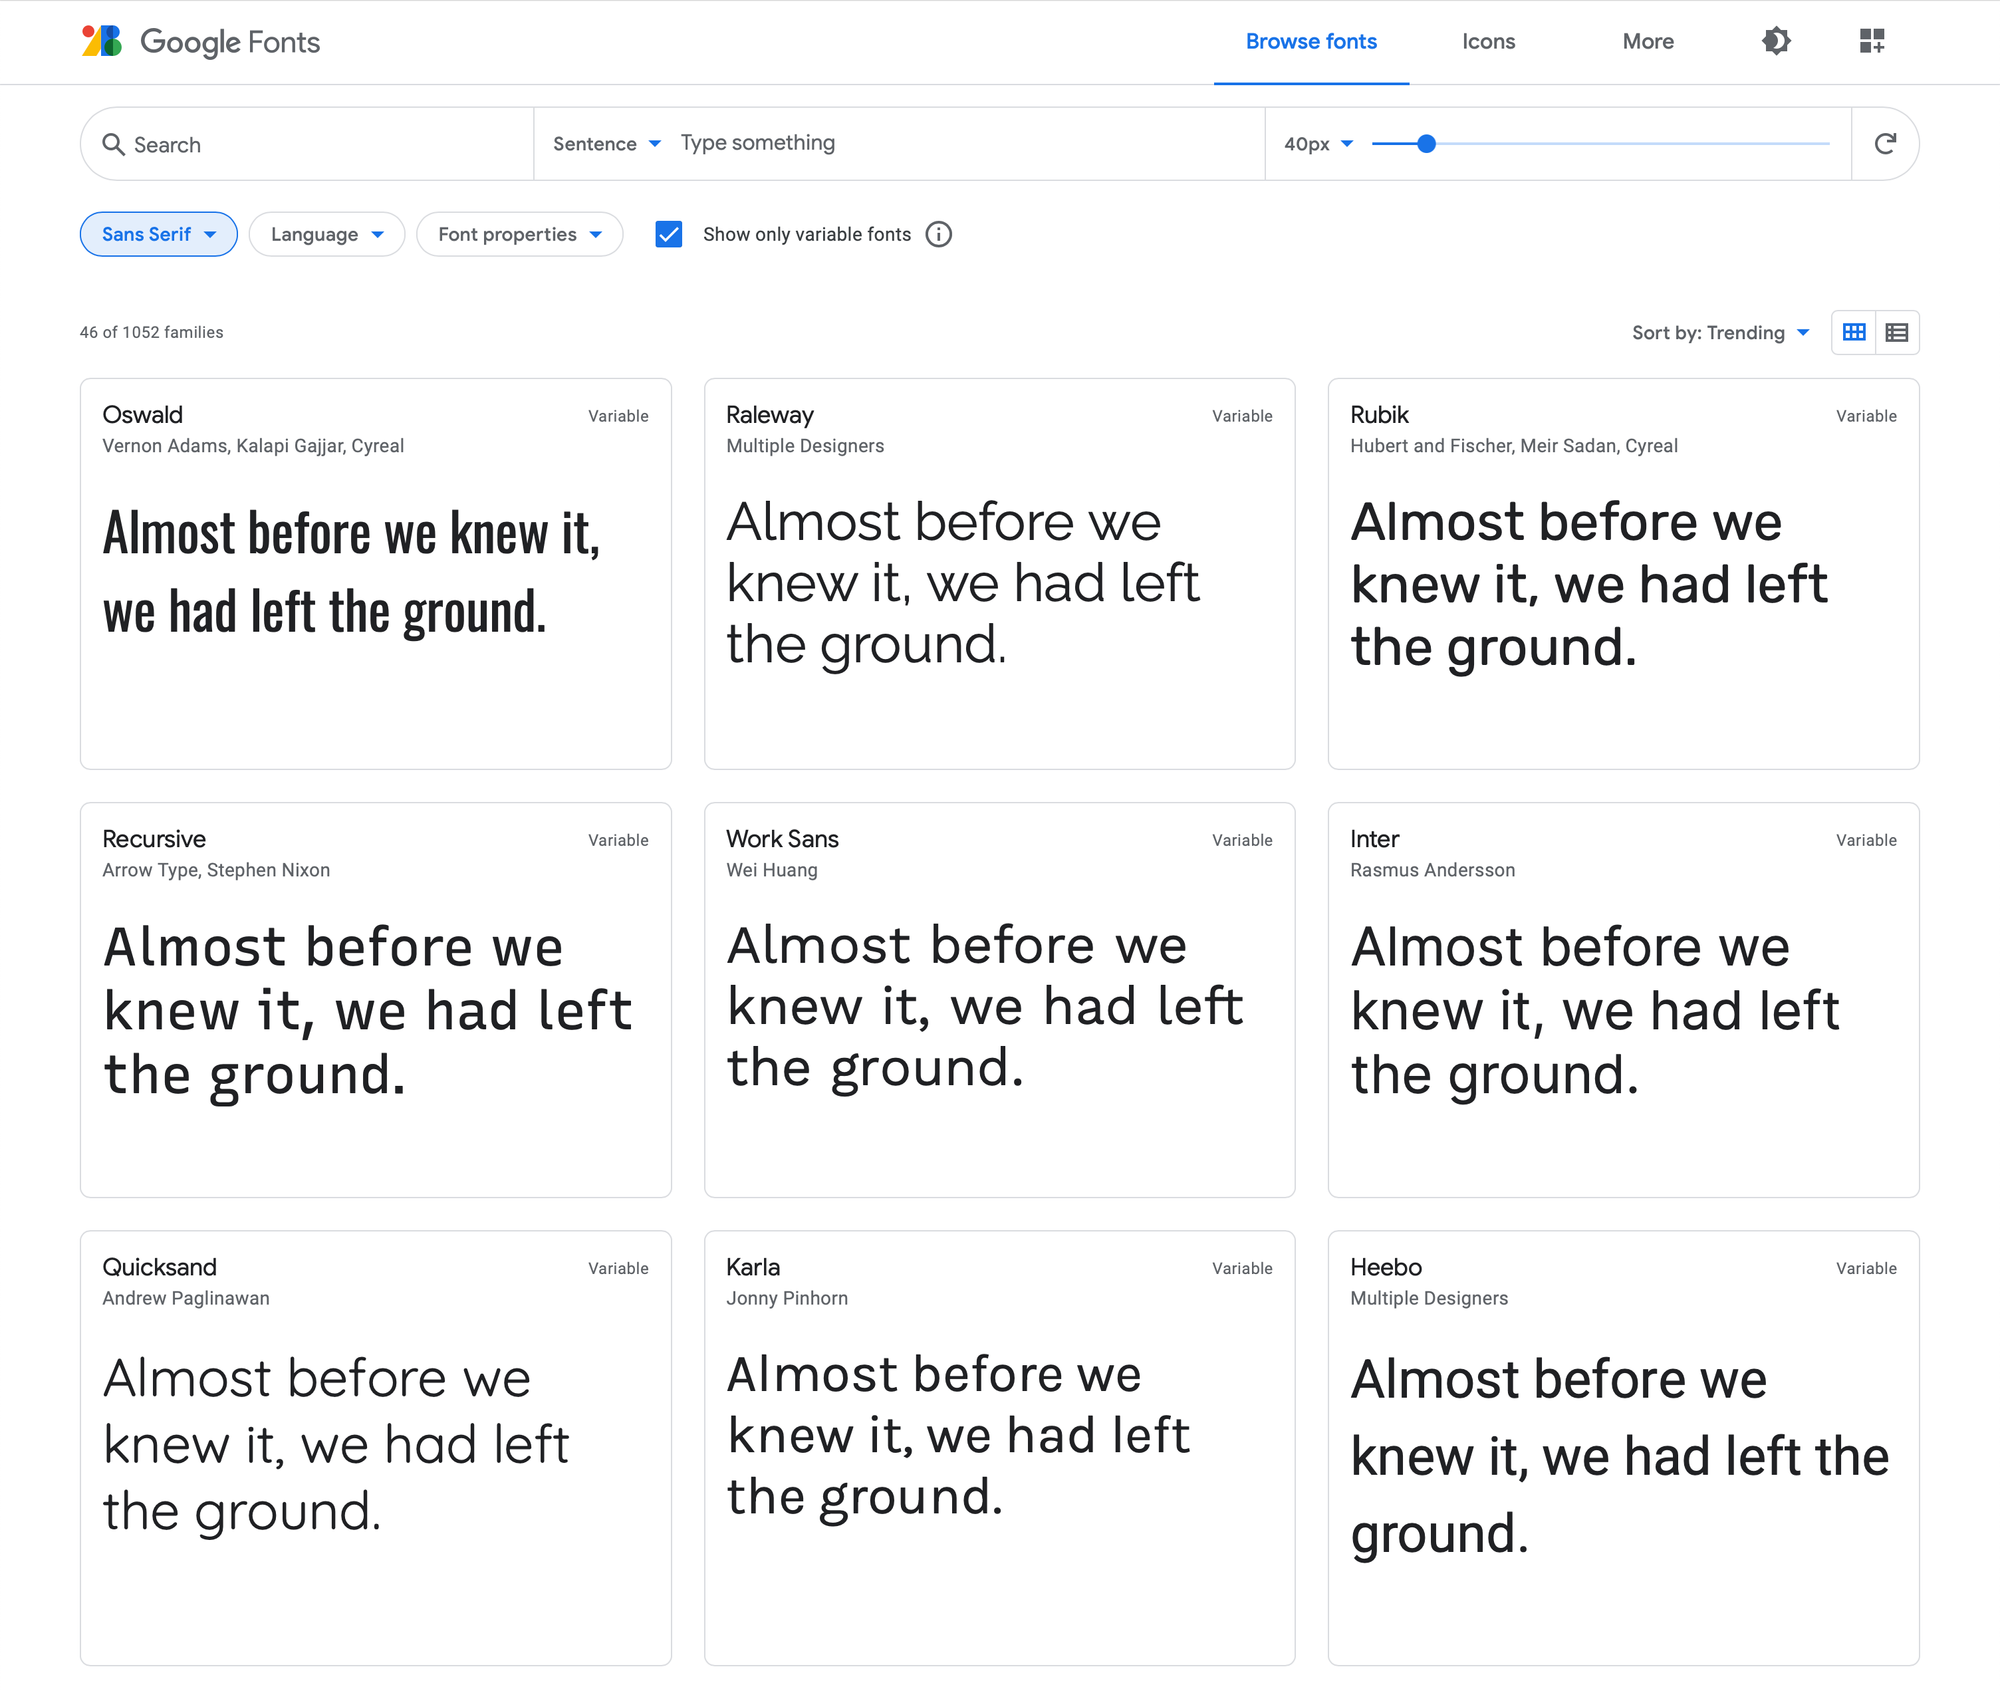
Head over to the Google Fonts page. There are a lot of font families you can choose from. Fortunately, Google provides a few ways to filter the options. Here, filters have been set to show only variable Sans Serif fonts.
When you find a font you like, click on it to go to a page showing all the styles available for that font. Click “+ Select this style” next to any style you’d like to have available for your site.
If you want to add more than one font to your site (you may wish to use one for heading and another for body text), click the “Pairings” link at the top of the page to jump to the section that suggests fonts that pair well with the font you’ve chosen. In this example, Open Sans is paired with Raleway:
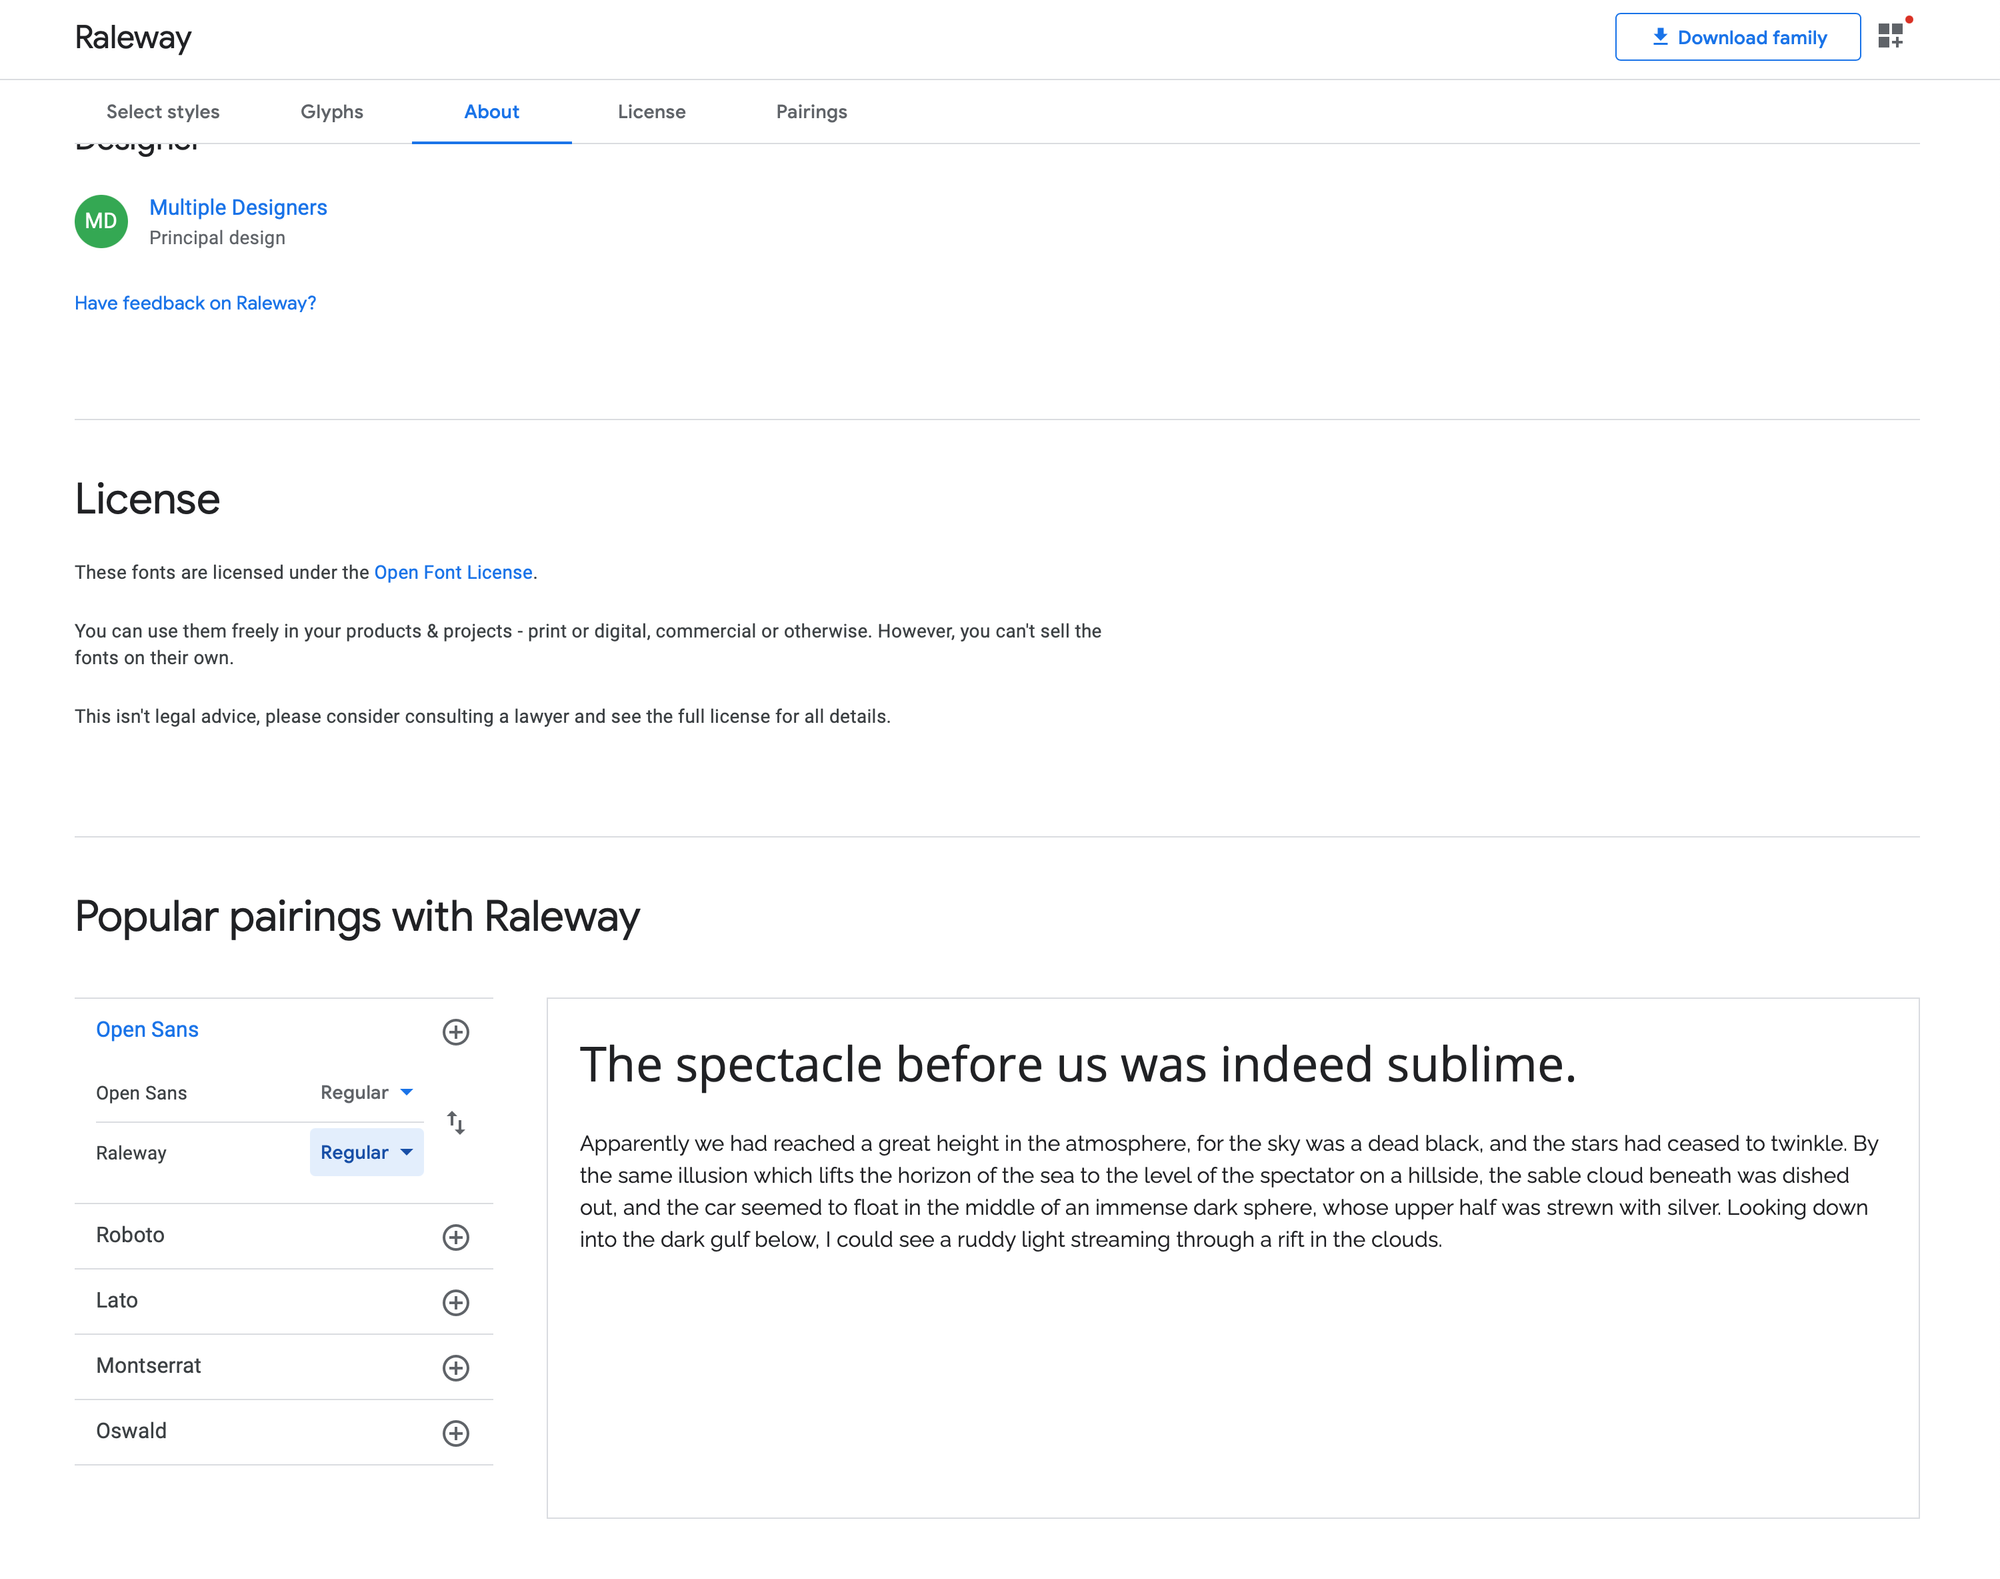
Clicking on the plus sign next to the font’s name will add it to your list of fonts.
To see your selected fonts, click the square icon at the top right of the page. You should see something that looks like this:
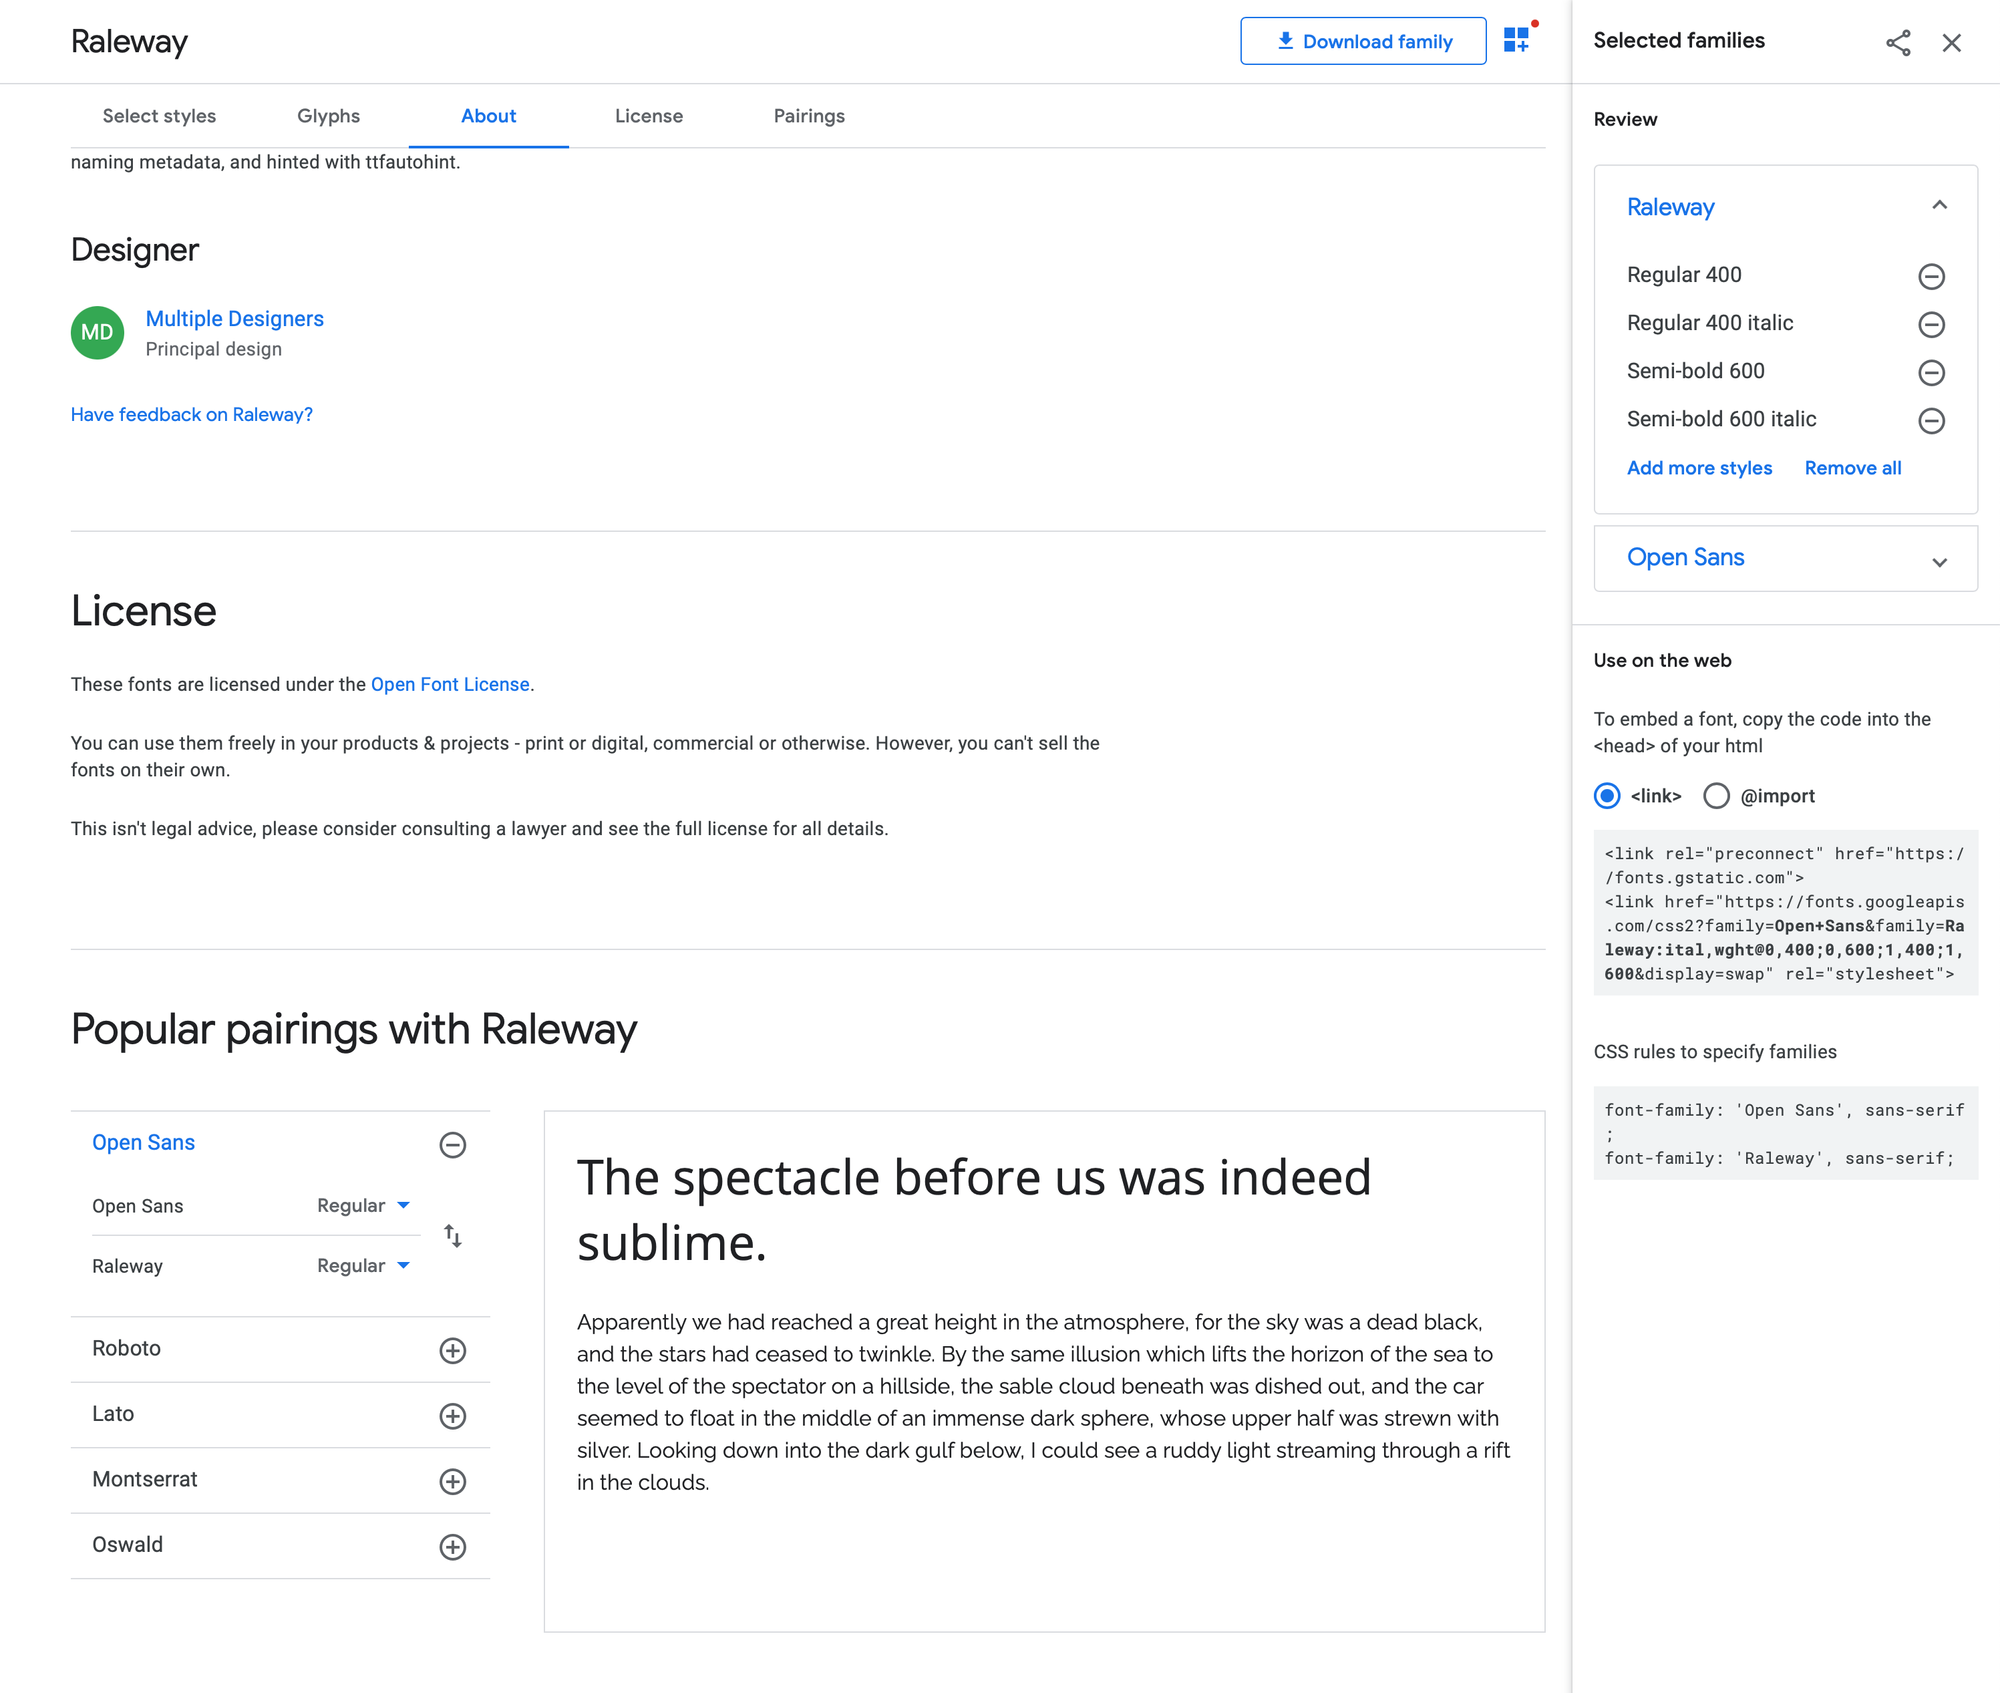
Note that you can add styles for any of the fonts you’ve selected. Once you’re satisfied with your selections, be sure the “<link>” radio button is selected, and copy the code that appears in the box beneath it.
Adding the font(s) to your site
Now that you’ve selected your fonts, it’s time to add them to your site.
From your Ghost administration page, open settings, then Code injection. In the Site Header box, past the code you copied from Google Fonts. Then use the CSS rules listed on the Google Fonts site directly below the code you previously copied to apply the fonts to specific elements of your site. Here’s an example using Open Sans for headings and Raleway for body text:
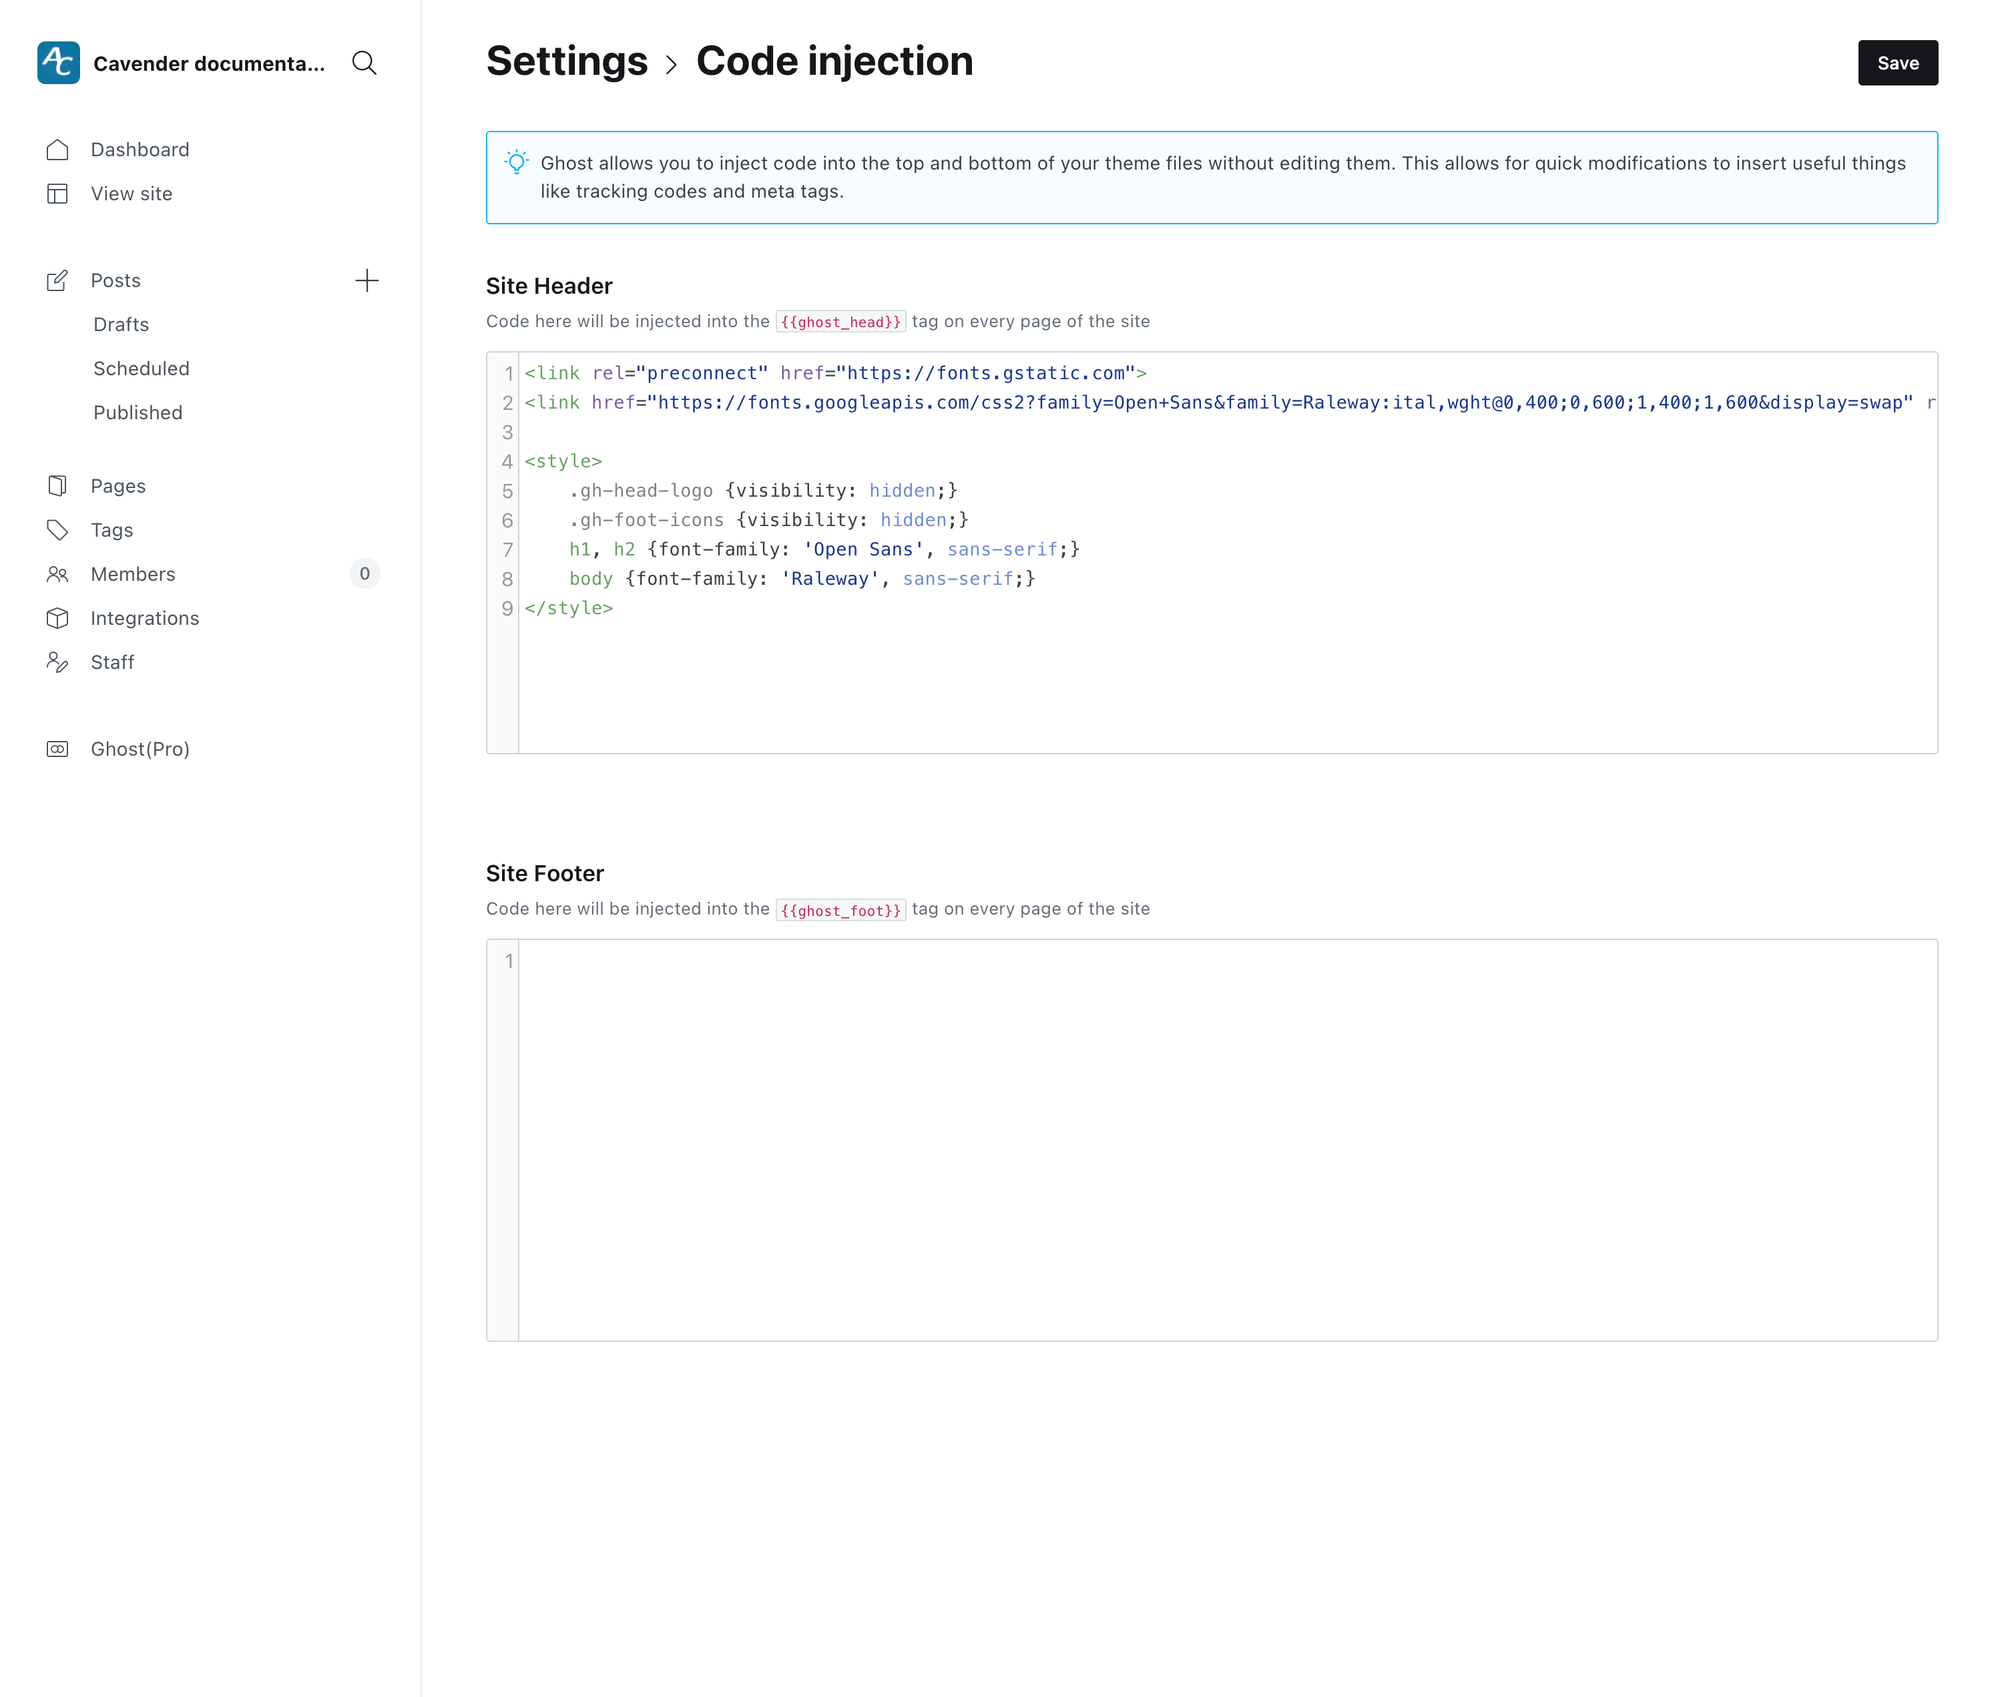
Save your changes, and you’ll see your new fonts in action the next time you refresh a page on your site.
